You will need a pair of precise scissors, glue suitable for paper that does not stick immediately but allows some adjustment, tweezers and a match to spread the glue with. And some patience.
Work like this:
1. Print the pattern sheets on standard copy paper.
2. Cut out all the pieces
3. Press all the folds, using your nails. Solid lines are "roof folds" while dashed lines are "valley folds."
4. Glue the flaps in the order indicated.
- Sometimes several flaps must be glued at the same time. Then they have the same number.
- If the pattern consists of several pieces, dashed mock flaps indicate where the pieces fit together. The mock flap should be cut off at the last moment.
- The last flaps to glue, that close the model, are marked with a z.
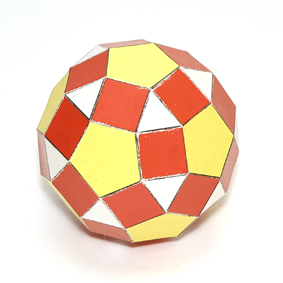
An
example of the building steps for a rhombicosidodehedron shown as a series of photos is found
here.
If you are lefthanded, it is better to mirror the patterns before starting.
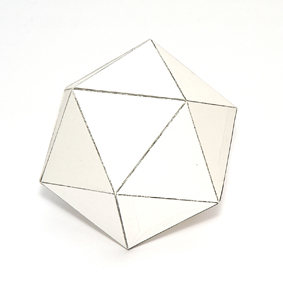
Start with the
5
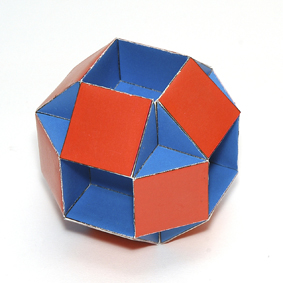
Platonic solids and continue with the
13
Archimedean solids.
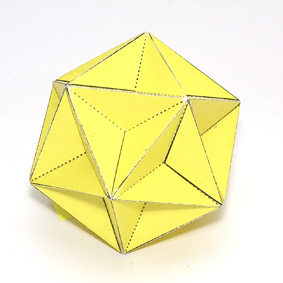
The
4 Kepler-Poinsot solids are non-convex "Platonic" polyhedra. They are also available in multi-colour.
In addition to the above there are
53 non-convex uniform polyhedra. Models for most of them are found here.
In the models all the flaps are present but you will have to figure out the order of gluing yourself. Looking at the photo of the models helps.
Non-convex uniform polyhedra with convex faces where the vertices are star-shaped are found
here (simpler ones) and
here (more complex).
Polyhedra with star-shaped faces but convex vertices are found
here (pentagrams and octagrams).
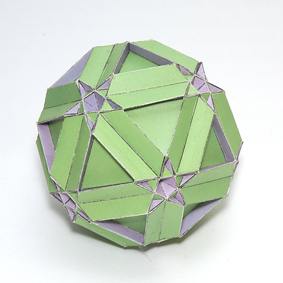
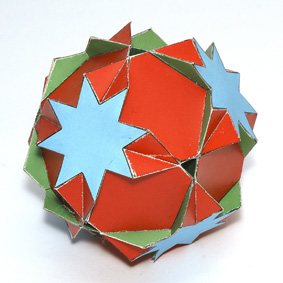 All polyhedron photos by Kristina Lidayová.